Table of Contents
Introduction
In our platform, Karelics Cloud, we strive to automate repetitive tasks and improve interactions with robots through our robotic fleet management capabilities. As part of our efforts, we often incorporate custom icons into our platform, particularly for construction site photo documentation UI. To achieve this, we have developed a process for creating and extending a custom icon. In this article, we will outline the algorithm we follow to create a custom icon font that can be applied to various JavaScript projects.
Creation and Installation
We use Material Symbols as our main icon font, but there are times when we need custom icons. To meet this need, we have created our own icon font.
Below is the alghotithm for creating/extending our own icon font:
- To start, export the desired icons in SVG format from design tools such as Figma. After exporting, clean up the icons by removing unnecessary attributes like “fill” and adjusting their sizes using Online SVG code editor service.
Example of SVG code for the “device.svg” icon:
					<svg width="24" height="24" viewBox="0 0 24 24" fill="currentColor" xmlns="http://www.w3.org/2000/svg">
  <path d="M3.6665 9.85742C3.6665 8.75285 4.56193 7.85742 5.6665 7.85742H18.6665C20.3234 7.85742 21.6665 9.20057 21.6665 10.8574V12.5717C21.6665 14.2286 20.3234 15.5717 18.6665 15.5717H5.6665C4.56193 15.5717 3.6665 14.6763 3.6665 13.5717V9.85742Z"></path>
  <path d="M4.95215 5C4.95215 4.44772 5.39986 4 5.95215 4H9.095C9.64729 4 10.095 4.44772 10.095 5V5.57143C10.095 6.12371 9.64729 6.57143 9.09501 6.57143H5.95215C5.39986 6.57143 4.95215 6.12371 4.95215 5.57143V5Z"></path>
  <path d="M10.0952 18.4287C10.0952 18.981 9.6475 19.4287 9.09521 19.4287L5.95236 19.4287C5.40007 19.4287 4.95236 18.981 4.95236 18.4287L4.95236 17.8573C4.95236 17.305 5.40007 16.8573 5.95236 16.8573L9.09521 16.8573C9.6475 16.8573 10.0952 17.305 10.0952 17.8573L10.0952 18.4287Z"></path>
  <path d="M17.8096 18.4287C17.8096 18.981 17.3619 19.4287 16.8096 19.4287L13.6667 19.4287C13.1144 19.4287 12.6667 18.981 12.6667 18.4287L12.6667 17.8573C12.6667 17.305 13.1144 16.8573 13.6667 16.8573L16.8096 16.8573C17.3619 16.8573 17.8096 17.305 17.8096 17.8573L17.8096 18.4287Z"></path>
  <path d="M12.6665 5C12.6665 4.44772 13.1142 4 13.6665 4H16.8094C17.3616 4 17.8094 4.44772 17.8094 5V5.57143C17.8094 6.12371 17.3616 6.57143 16.8094 6.57143H13.6665C13.1142 6.57143 12.6665 6.12371 12.6665 5.57143V5Z"></path>
</svg>
device.svg
- Open IcoMoon and click the “IcoMoon App“ button. As written on their website “The IcoMoon app is free to use. Code files (HTML, CSS, JS) generated by IcoMoon are MIT licensed.”
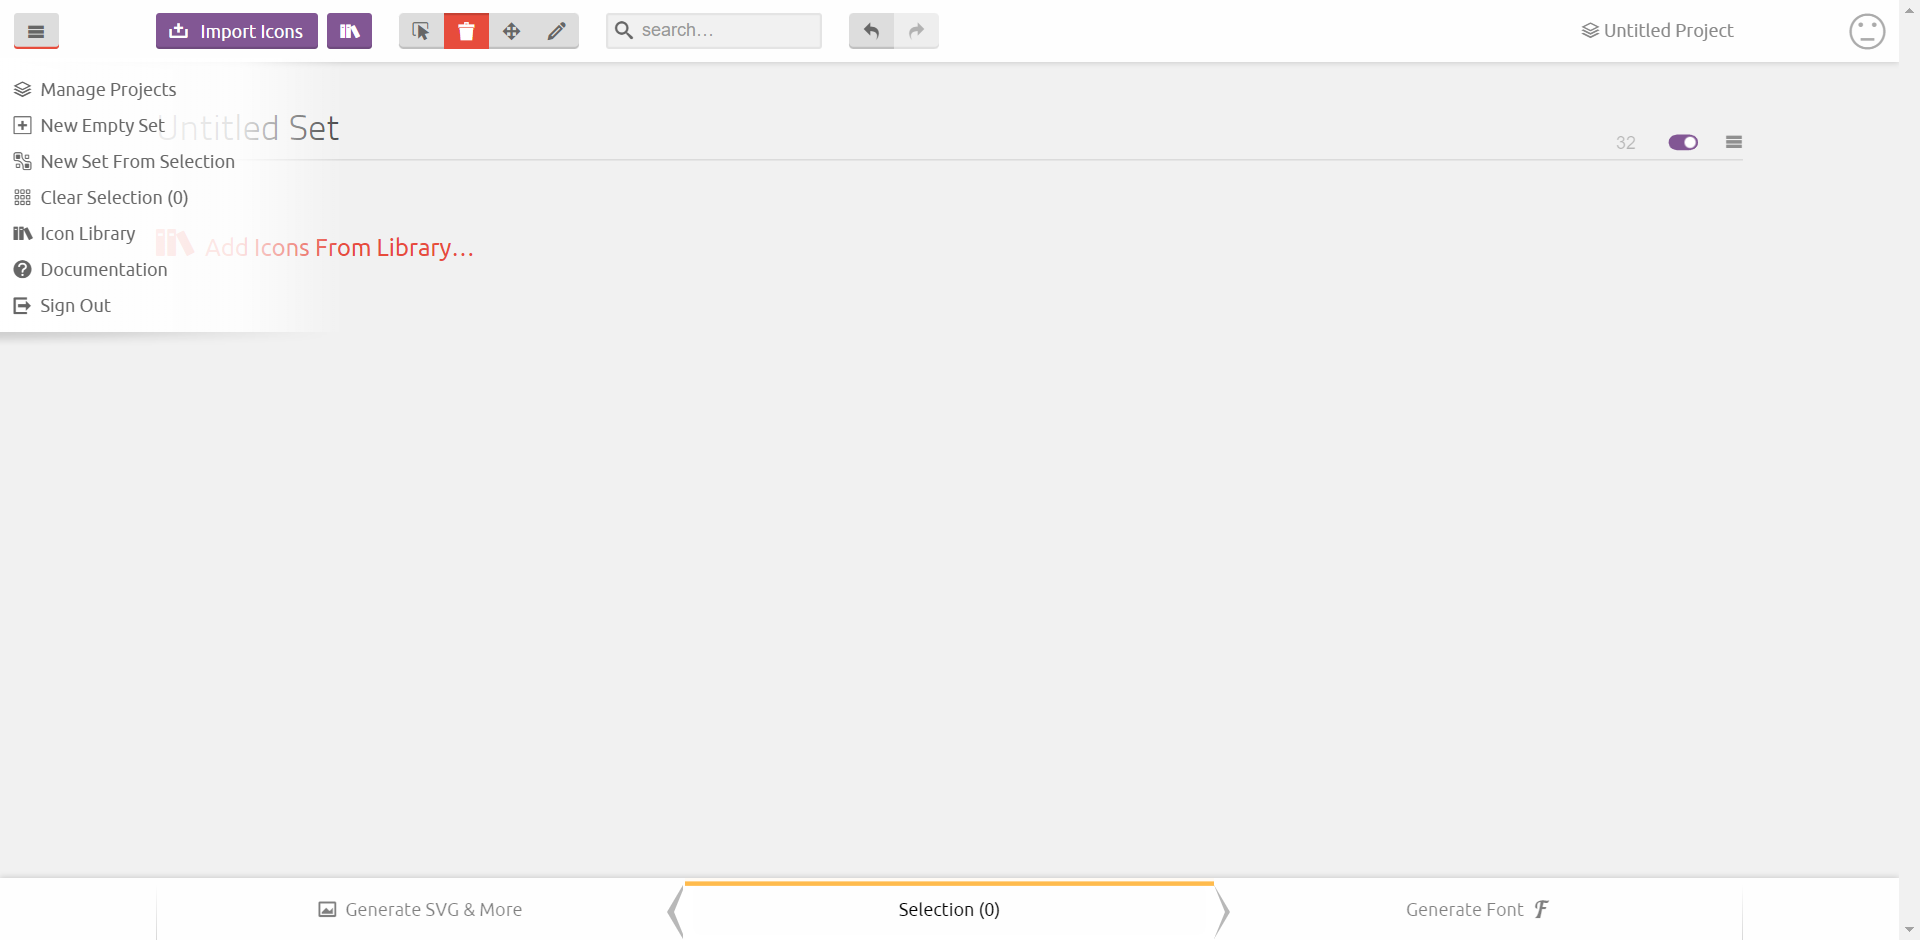
- Create a new empty set:
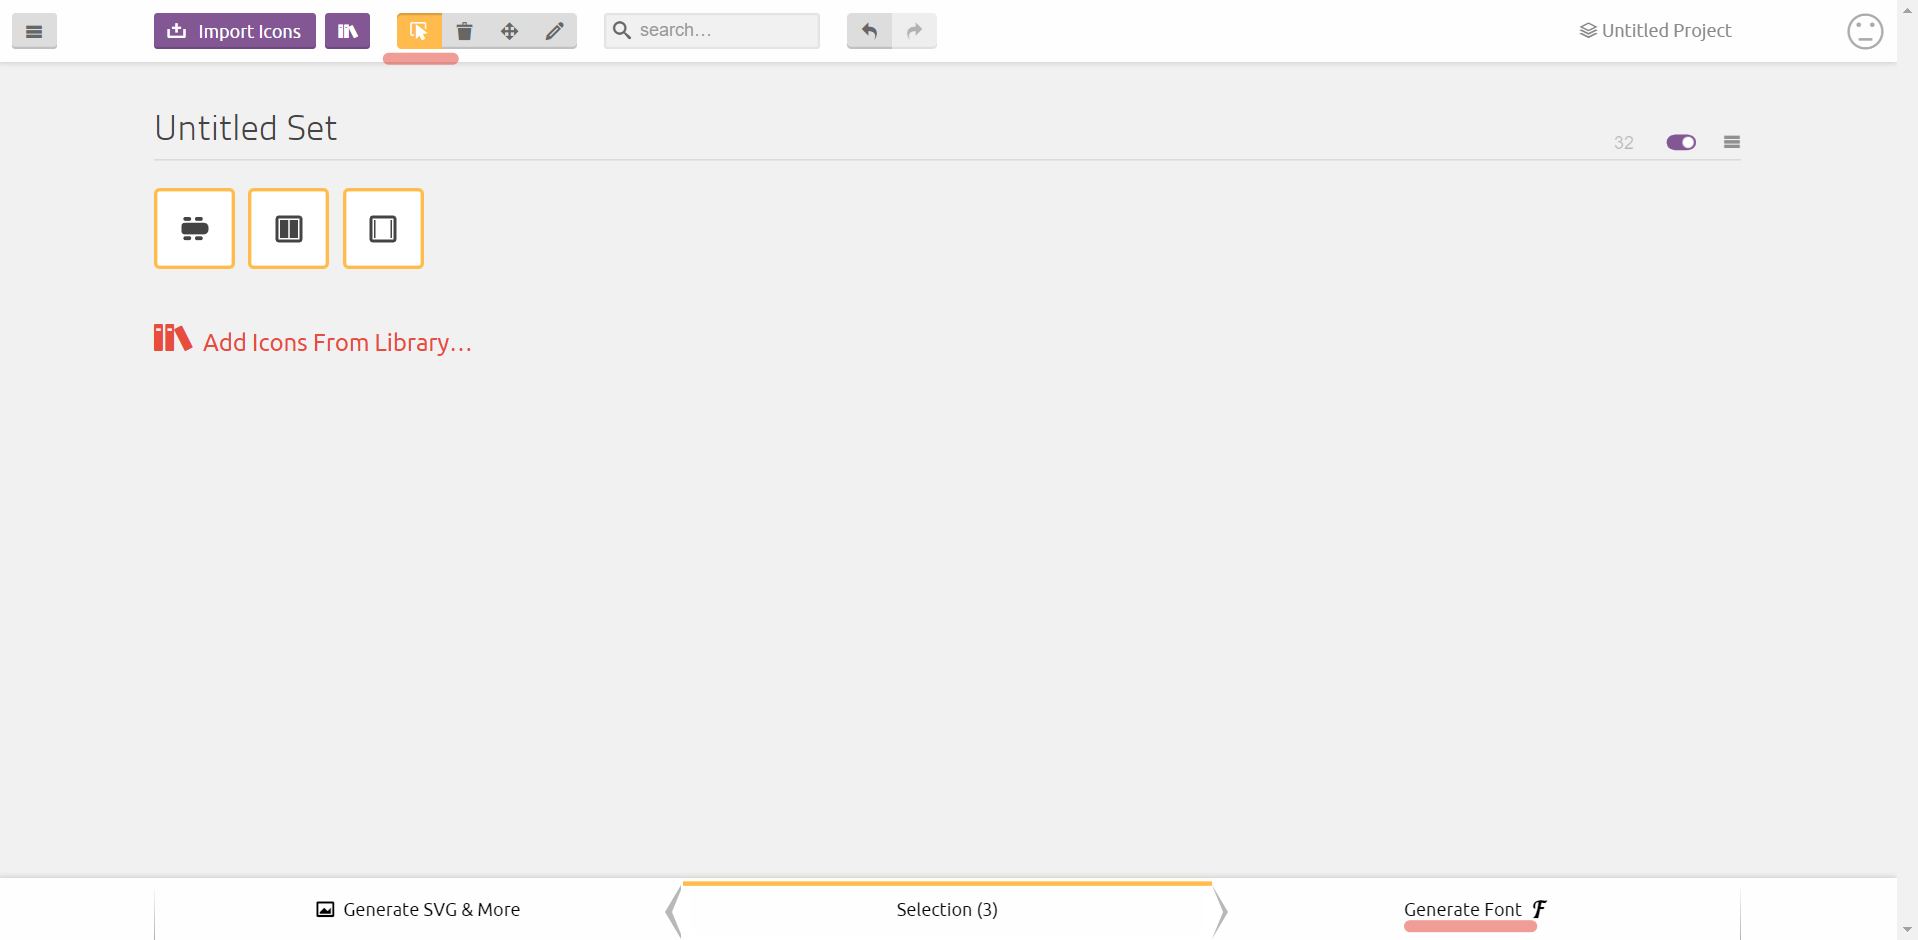
- Import our icons:

- Select all icons and click the “Generate Font“ button:
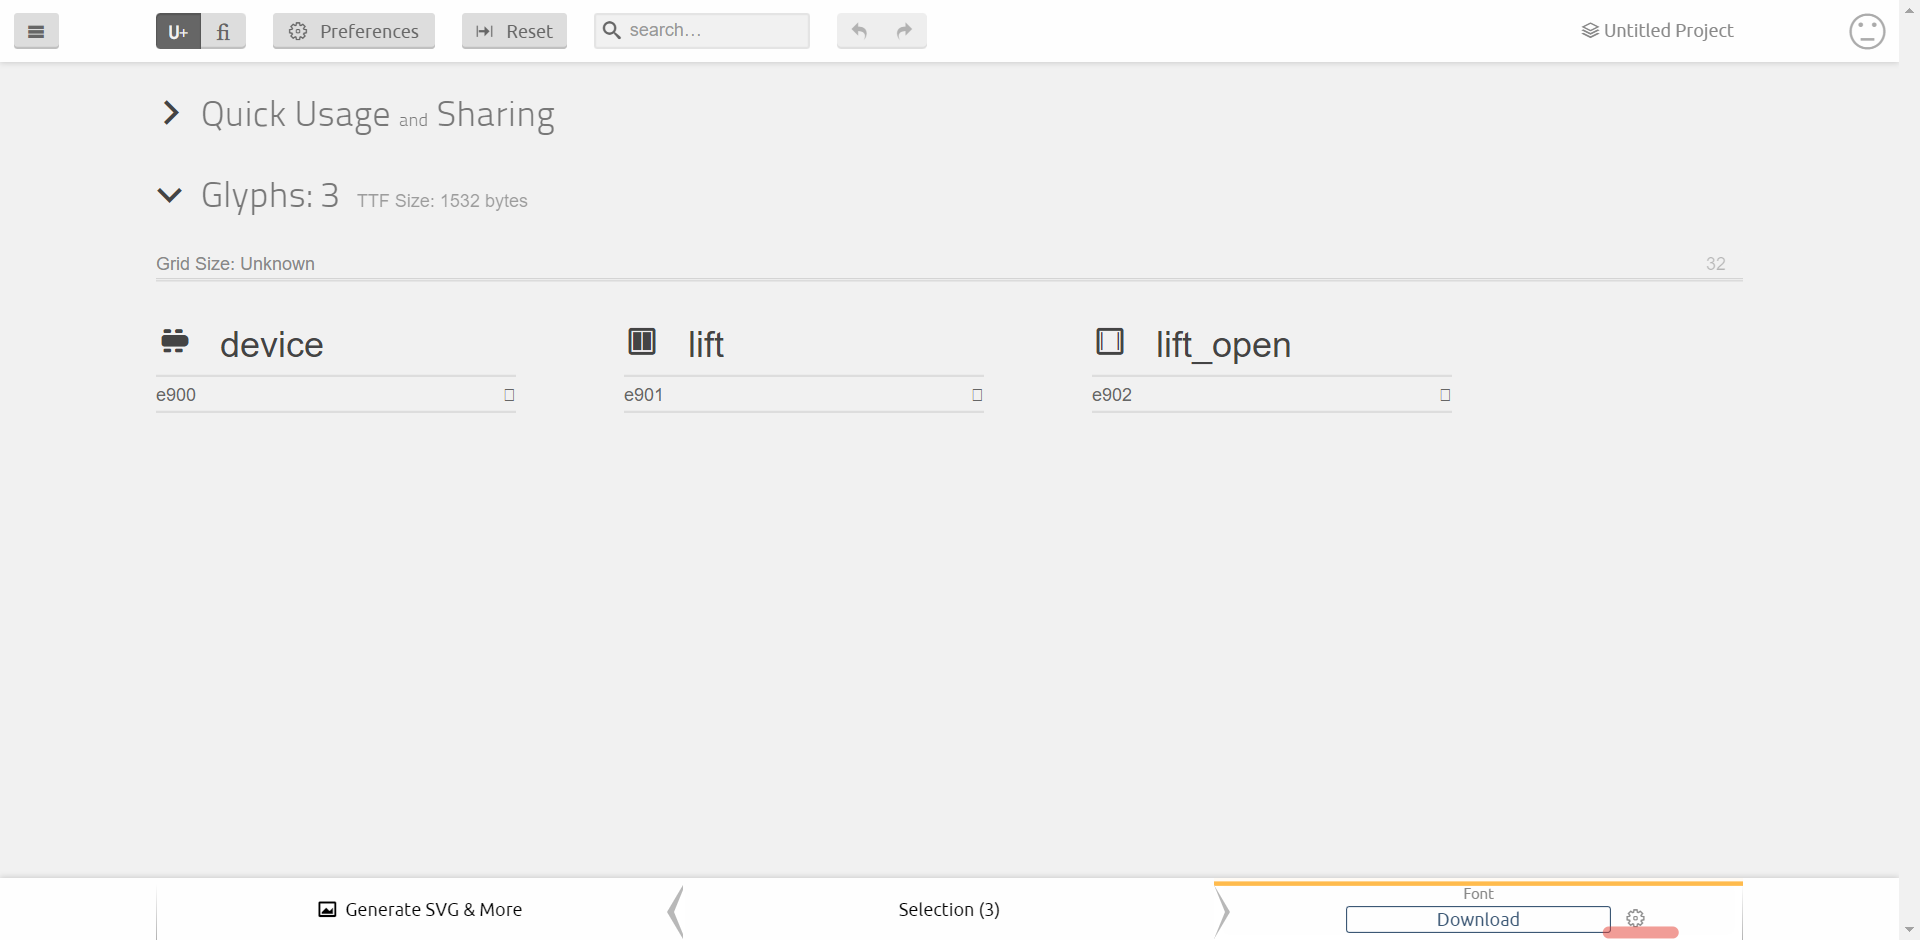
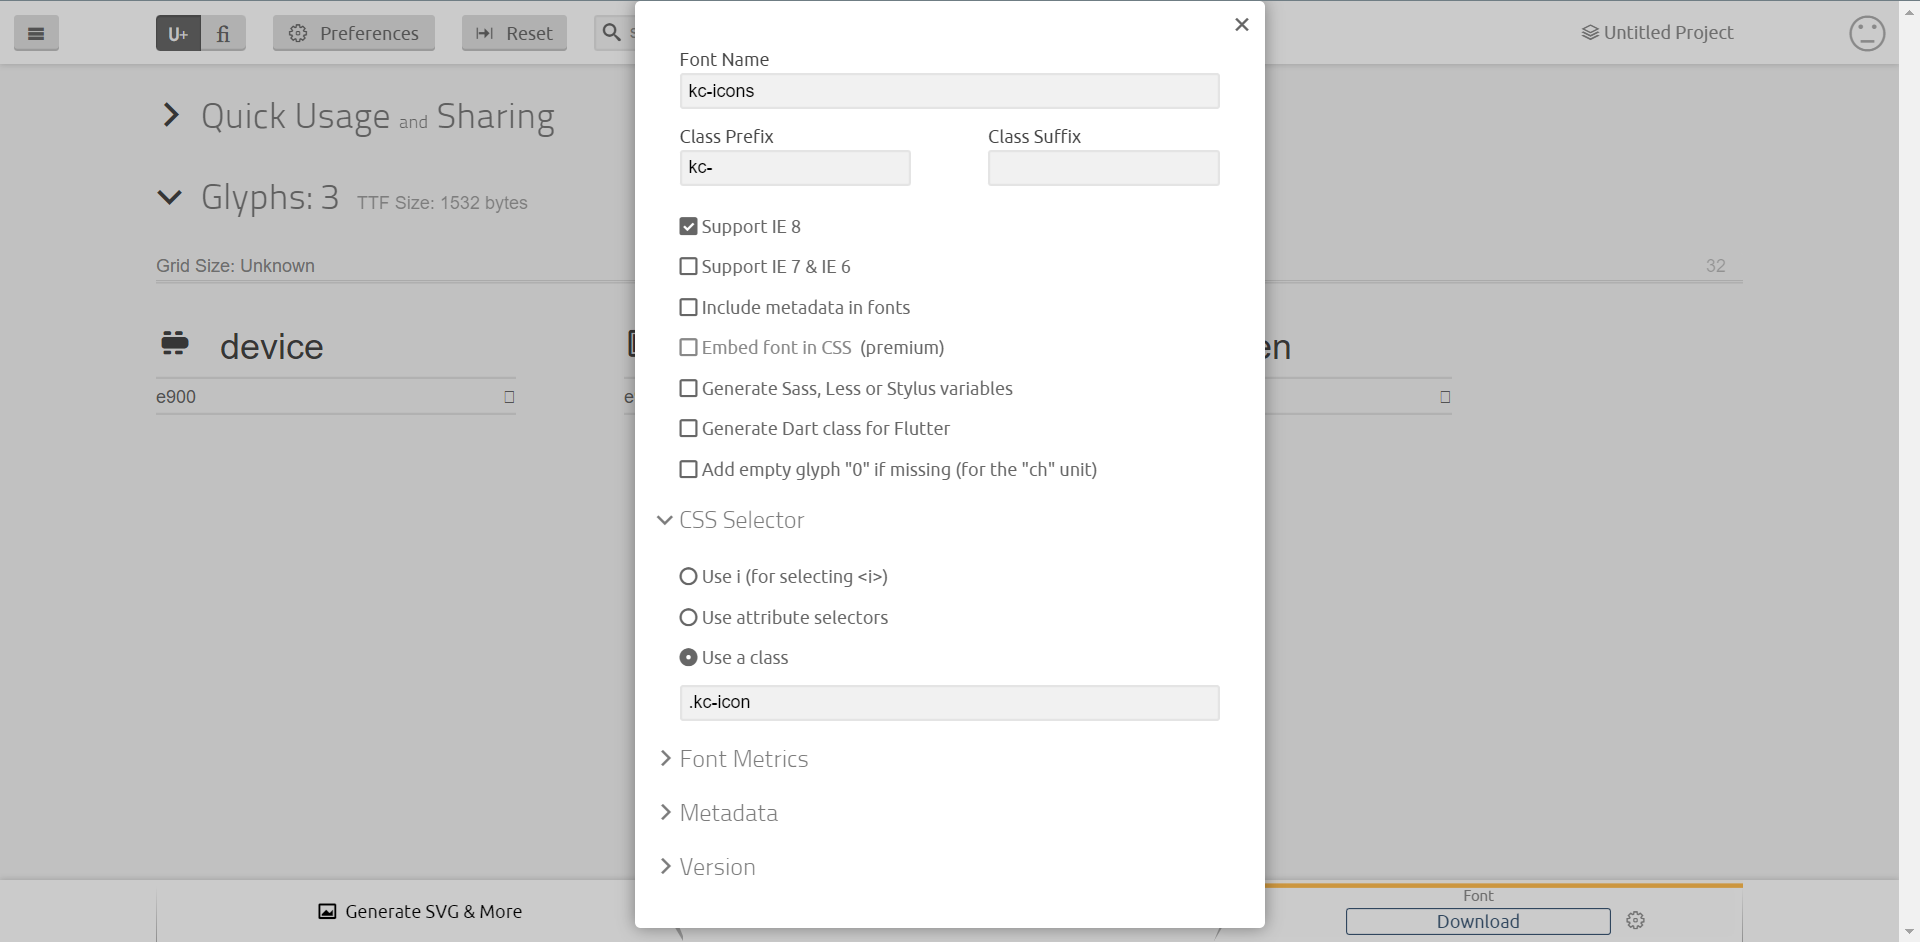
- On the next page you can set the names of the icons (file names by default). Click on the gear to open font settings:
- Here are the settings we use for our icon font:
- Download the generated font files and put them into your JavaScript project:
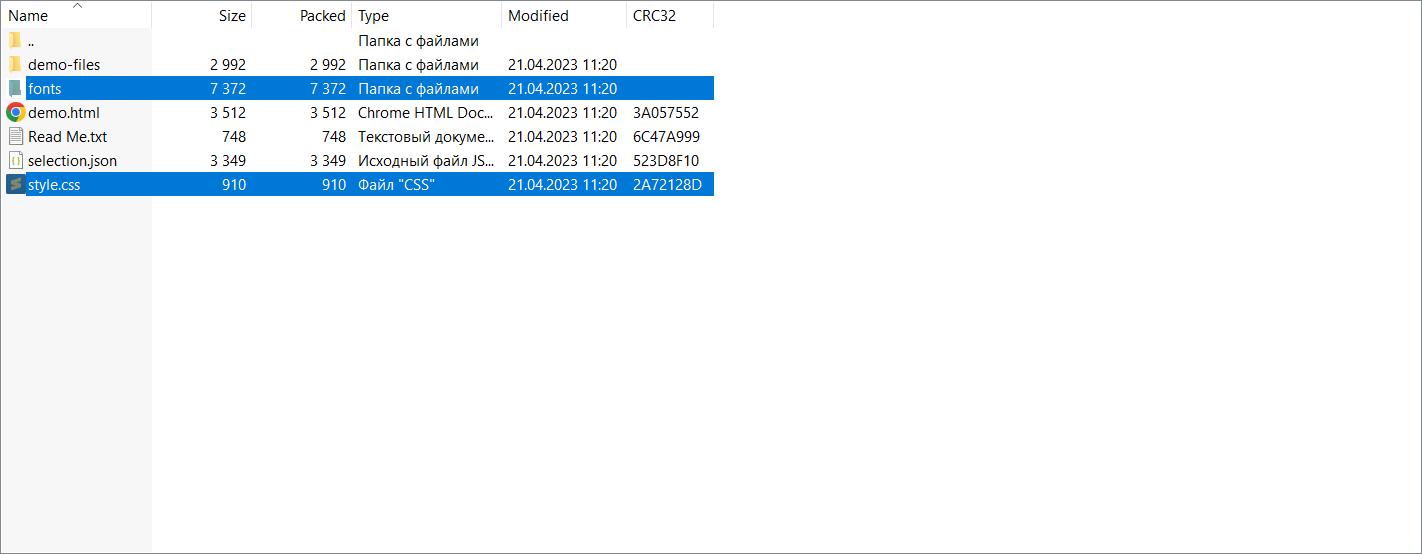
Make necessary adjustments to the font paths in your project’s CSS file. Additionally, if required, update/add the font import styles in your project’s HTML file using the element.
					<head>
  <meta charset="UTF-8"/>
  <meta name="viewport" content="width=device-width, initial-scale=1.0"/>

  <!-- Importing the custom font -->
  <link rel="stylesheet" href="./kc-icons/style.css"/>
...</head>
Usage
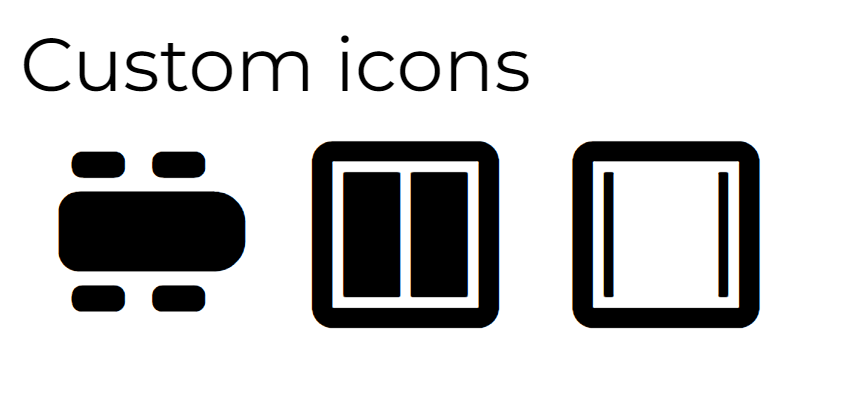
Here is an example of using custom icons:
					<body>
  <div>Custom icons</div>
  <span class="kc-icon kc-device"></span>
  <span class="kc-icon kc-lift"></span>
  <span class="kc-icon kc-lift_open"></span>
</body>
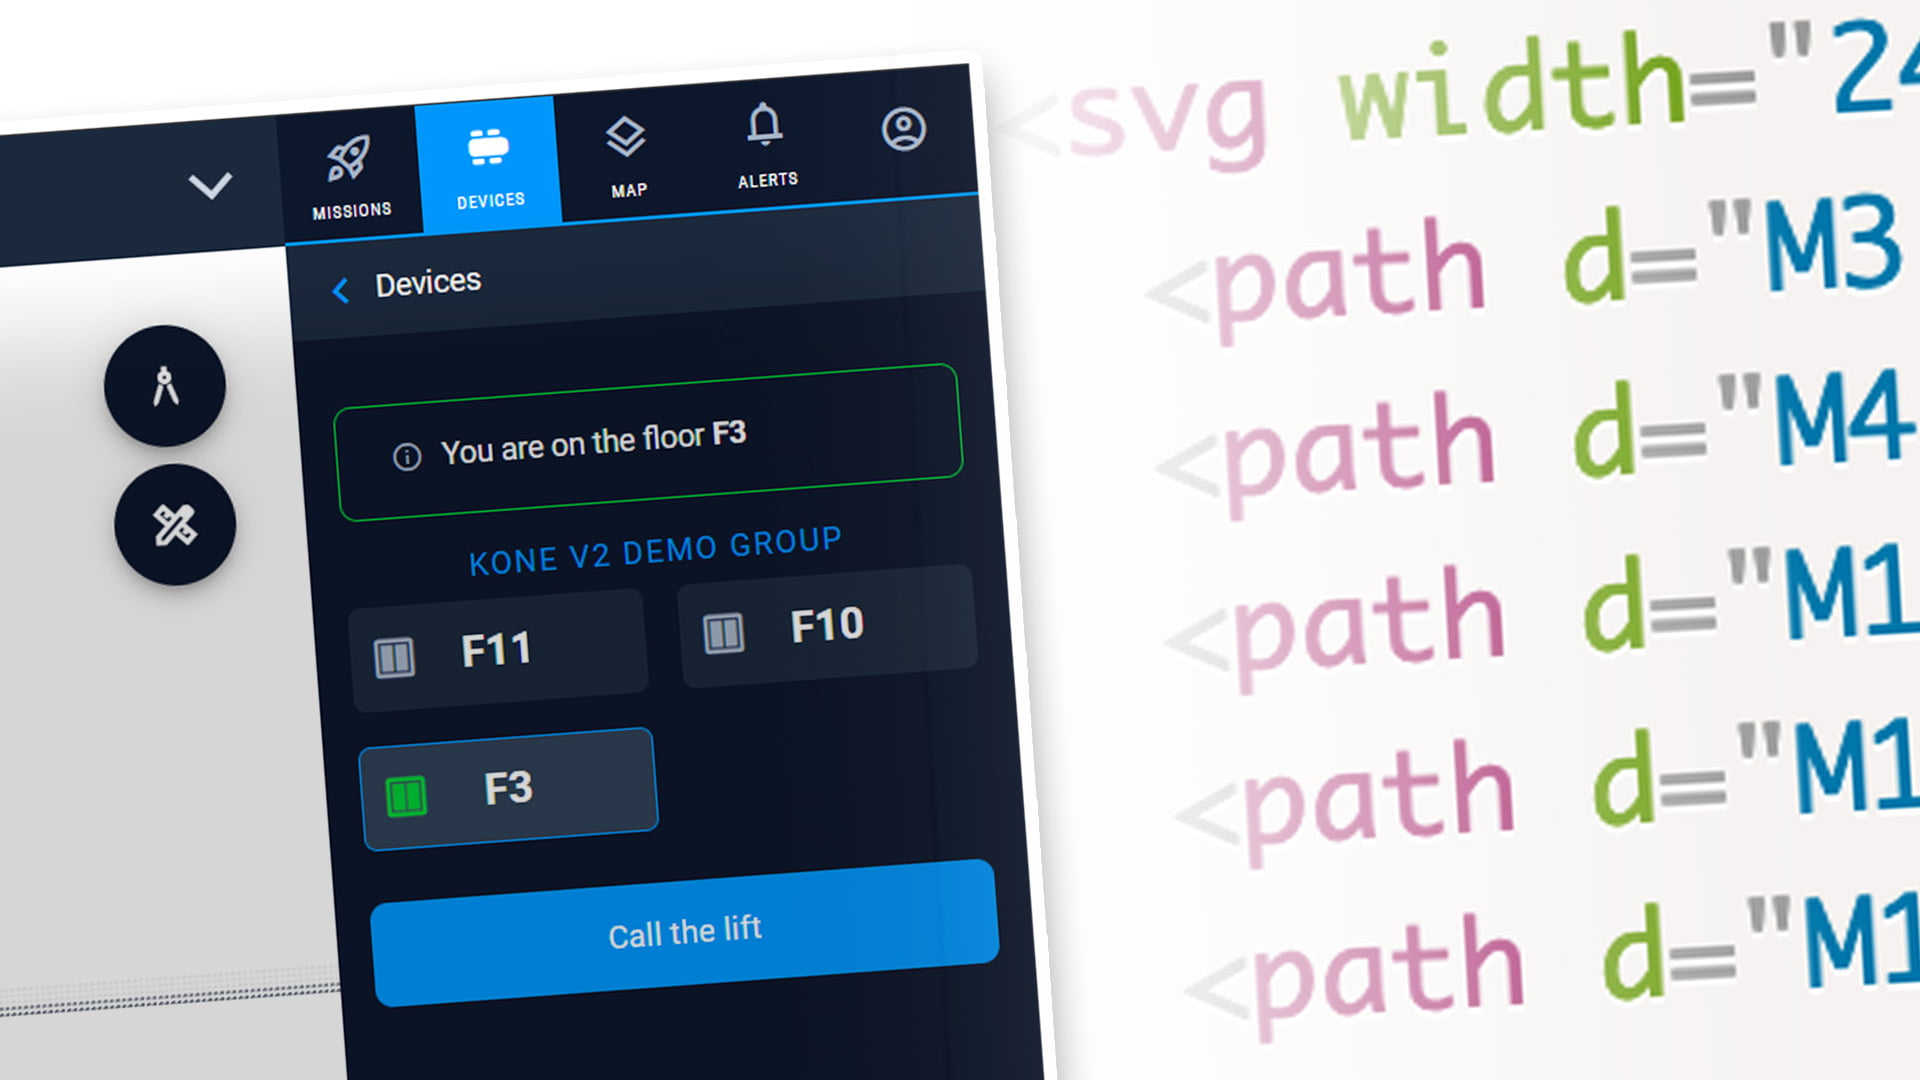
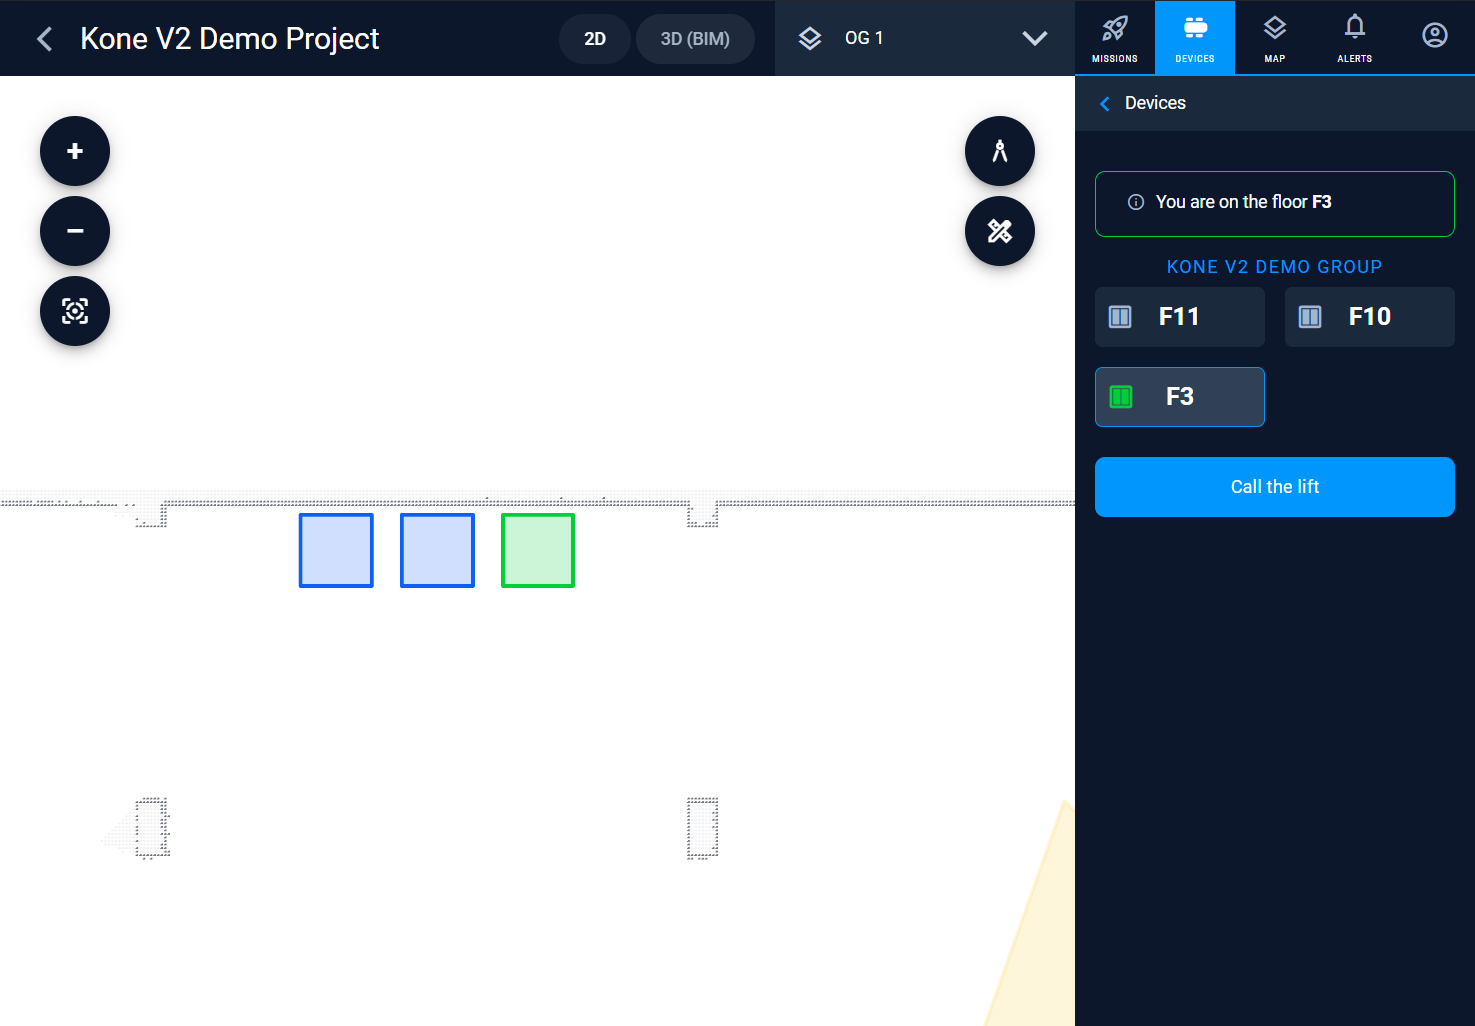
Using custom icons in the Karelics robots fleet management platform Karelics Cloud:
Usage in Angular
We use the MatIcon module to embed icons into our application. By default, expects the Material icons font. Example:
<mat-icon fontIcon="layers"></mat-icon>
To use our icons, we register the kc alias through the MatIconRegistry service during application initialization:
					@Injectable({
  providedIn: 'root',
})
export class KcIconsService {
  private readonly matIconRegistry = inject(MatIconRegistry);

  initializeKcIcons(): Promise<void> {
    return new Promise((res) => {
      this.matIconRegistry.registerFontClassAlias('kc', 'kc-icon');
      res();
    });
  }
}</void>
Usage in a template (you just need to add the fontSet attribute with the registered alias):
<mat-icon fontSet="kc" fontIcon="kc-device"></mat-icon>
Conclusion
In conclusion, this article has provided a comprehensive guide to creating a custom icon font for JavaScript projects. Whether you are developing a robotic fleet management system or any other project, incorporating custom icons can greatly enhance the user interface and overall user experience. By following the outlined steps, you can create a unique icon font that adds a personal touch and improves visual appeal.

